Here is my process—keep in mind, I use an Apple computer, Firefox as my browser, and a HP 6400 series printer. You may be able to skip several of my steps depending on your "equipment".
Before I started printing shipping labels I went in to Paypal’s MultiOrder Shipping and changed a few options:
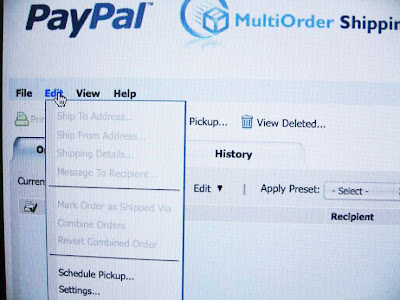
Under Edit, scroll down and click on settings
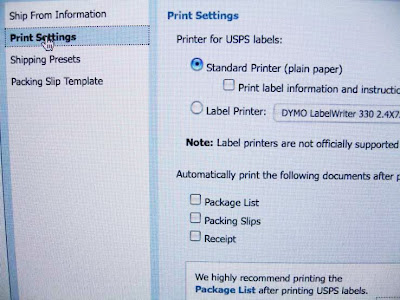
Once in Settings, choose Print Settings and make sure the ONLY OPTION CHECKED is Standard Printer. With everything else unchecked, you will only have the shipping label printed—NOTHING ELSE.
Let’s get started!! Here are my steps:
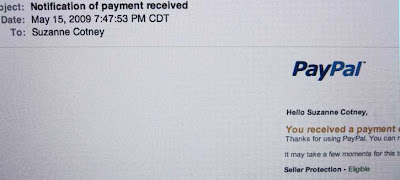
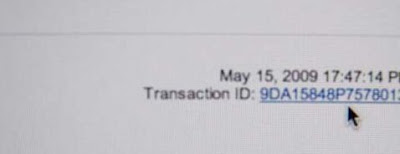
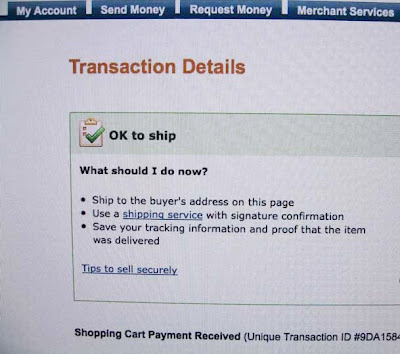
Step 1: When I sell an item on Etsy that requires payment via Paypal, I receive an email from Paypal that describes the transaction. I click on the transaction number to take me straight to the details on Paypal.
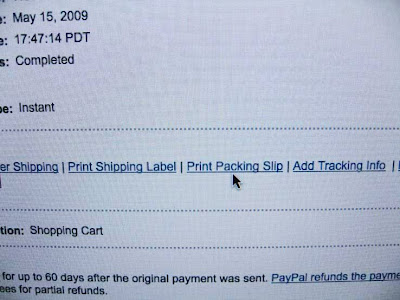
Step 2: towards the bottom of the Transaction Details page is a bar with several options. I always choose to print the Packing Slip first.
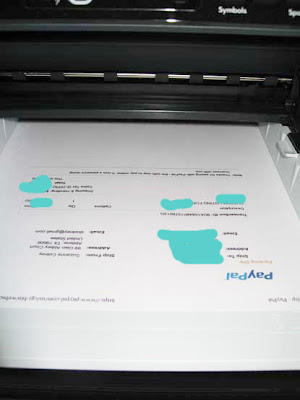
Step 3: I place my packing slip in my printer tray with the blank side DOWN and the blank end INSERTED towards the printer:
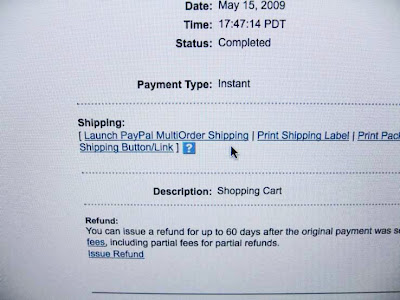
Step 4: Back to the same bar at the bottom of the details page, choose Launch MultiOrder shipping:
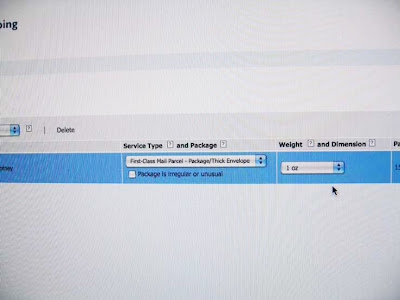
Once at the MultiOrder ship page, highlight the order you need to ship and enter the necessary information:
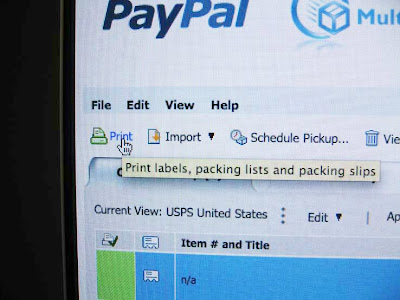
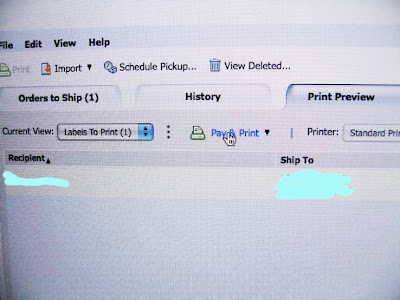
At the upper left of that page, click on the Print option--another page will open and choose the Pay and Print option as shown here:
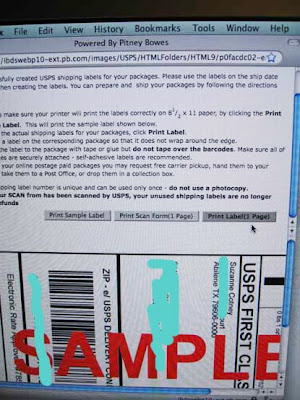
At this point, a Pitney Bowes window will open with a sample picture of the shipping label, click on the Print Label option:
My printer setting page that opens does not have scaling (resizing) as an option, so I have to jump through a few hoops at this point—hopefully, yours is more user friendly…
I have to choose the Preview option at the bottom and do my scaling in this round about way:
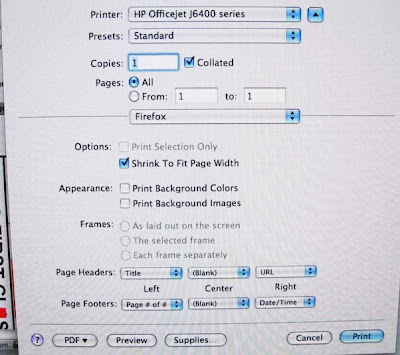
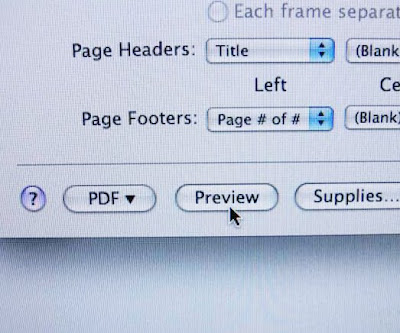
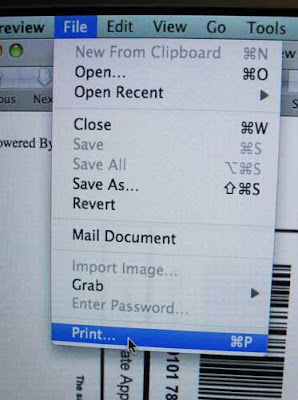
Once at the “Preview”, I choose the File tab at the top, and then Print:
Another page opens that has the scaling option (yeah!). I change the 100% to 85%
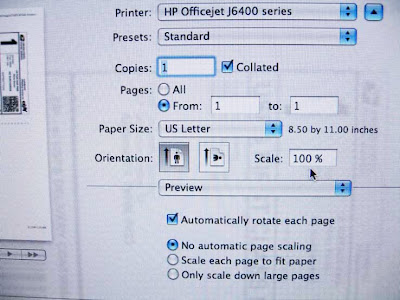
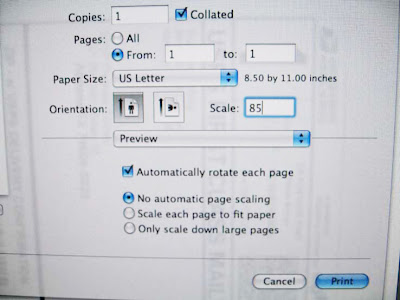
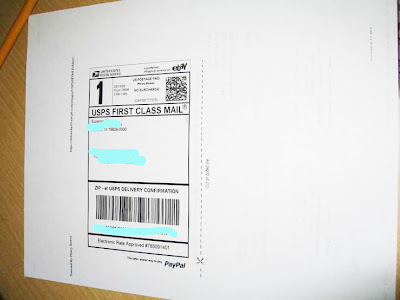
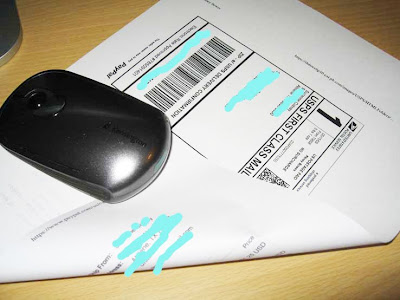
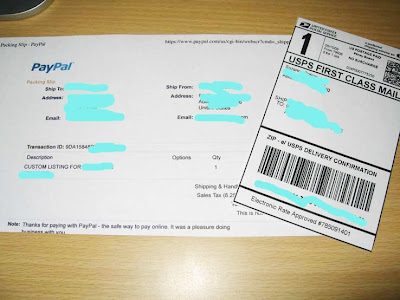
NOW I GET TO PRESS PRINT!!! The label prints out on the back of my packing slip!
I then cut out the shipping label and place it on the outside of the package and include the packing slip inside with the merchandise.
I realize that this was a super long post, but maybe someone learn a "new trick" by reading it. Please let me know if you can help me shorten my steps! I would love to hear from you!

10 comments:
Thank you so very much Suzanne for taking the time to do this! This has been so helpful.
I would also suggest printing the scan form. This way, you can take all your packages to the post office (which I do every morning) and they scan the scan form, which lets my buyers know (when they check the status) that the package was indeed mailed. If you just drop it in the mailbox, the post office doesn't scan it until it is delivered! Then if it gets lost, there is no where to track or prove you even mailed it to begin with.
Thanks! I just started selling on etsy and this is great info. Thanks for taking the time to post it!
Suzanne-
Thank you much for taking the time to go step-by-step on printing your own shipping labels. I too have recently just began learning how to use these labels.. and wow have I saved time and money. Although my article lacks the great photos you have, I have also written an article on where to find the cheapest shipping labels and how to use them. You can find my article here http://www.adazonusa.com/wheretofindstampscomlabels-a-62.html - Please take a minute or two to read this through Suzanne, and drop me a few thoughts.
This was so helpful! Thank you - found it from a google search ;)
Thank you for posting. I haven't gotten to familiar with Paypal but going to check it out over the weekend.
Thank you for sharing with us. I am going to try it right now.
Thank you so much!
It was really helpful.
Hey, thanks for the info--it worked great for me and I could actually follow your instructions! (Maybe you could start a side business). Another thing that helped for me was to print my first label on a blank sheet of paper instead my label sticker sheet, to make sure it was the size I wanted. If your sticker does not print at the size you needed, Pitney Bowes lets you click "Cancel" (I think that's what it was called), instead of "OK", and then you can reprint it at the correct size. I can also use my printer as a copy machine and just copy the plain paper sticker that was the size I needed right onto my sticker paper. Hope that can be followed.
Ha! Still helpful after all these years…Thanks!
Post a Comment